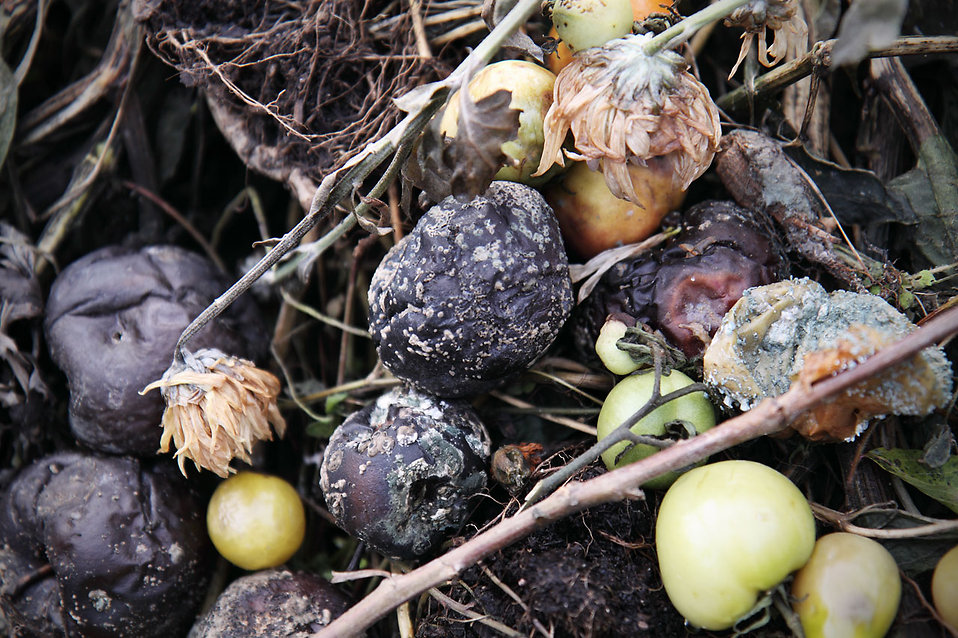
How to make a compost bin with a simple plastic tote
September 22, 2015
“Compost is an organic matter that has been decomposed and recycled as a fertilizer or soil amendment.”
Thanks, Wiki. But how do you make a compost bin? A quick Pinterest search can lead to premature exhaustion and overwhelming apathy. Do not fret, you do not need to go all out to create a simple home compost bin. Thankfully, there is an easy and inexpensive way.
I’m always trying to find new, unique ways to use those plastic totes that line my basement walls. As I watched the slowly changing leaves this weekend, it hit me: compost bin.
Here is a simple step by step process on how to make a compost bin:
Take your pick
Find a plastic bin fit for the job. Whether you have on laying around or must purchase one, make sure it is tall. At least two feet. And it must have a very secure, latching lid to keep our any curious critters.
Once you have a bin picked out, grab a drill or a hammer and nail to create air holes. Put at least eight hols in the bottom of the bin and in the lid. This will allow for proper air circulation and therefore even composting.
Fill it up
Back to those leaves. If you have them, collect some dry leaves from the yard and fill a quarter of the bin with them. You can also use newspaper for this, but I really recommend the dry leaves for a more pure compost.
Next is dirt. You can buy some for a hardware store or just dig it out of the ground at home. Either way, fill the bin with dirt until it is half full.
Scraps
Next, just add you food waste. Every time you add waste to the bin, make sure to stir it gently with a shovel or hand spade. Then spray it lightly with water until it is moist — you do not want to make it too wet. Be gentle!
Finally, just place the DIY compost bin somewhere outside in the shade so it doesn’t dry out. Come spring, you will have the best fertilizer for your gardens. And the cycle continues!
Find products for this project and more at StacksandStacks.com.

Pumpkin spice and everything nice
September 21, 2015
The first day of fall hasn’t even hit yet, but I’m seeing pumpkin spice latte-everything. Everywhere.
And while I’m tempted to wrap my hands around the warm, white cup you can pick up for a couple (or more) dollars at the “star” coffee chain, I resist. It’s super easy to make your own version of this beloved fall treat at home. Whether you prefer some creamer in your coffee or syrup so you can make the real thing, it’s a quick process. Plus, the ingredients are most likely already in your cabinet at home — or you can grab them for the same amount you’d spend on one latte at the cafe.
Pumpkin spice coffee creamer
2 cups milk (soy, almond, rice, dairy — whichever you prefer)
2 tbs pumpkin puree
4 dates, skinned
1 tbs maple syrup (the real stuff)
1 tsp cinnamon
1/4 tsp each nutmeg, clove and ginger
1/2 tsp vanilla extract
1 pinch salt
2 tbs coconut oil
Simply mix all the ingredients in a blender or food processor and combine!
Tip: Store it in a glass bottle and it will keep for weeks.
Pumpkin spice syrup
3/4 cup water
3/4 cup brown sugar (not packed!)
1/4 cup pumpkin puree
1 tsp cinnamon
1/2 tsp nutmeg
3 dashes clove
 Combine sugar and water over medium heat. Once the sugar dissolves, add the remaining ingredients. Allow the mixture to simmer for five minutes, then strain through a mesh strainer. Store this in a glass bottle as well and it will last weeks. Always shake before using because it will separate in the fridge.
 Tip: And, of course, it’s the not the true experience unless you have the white travel mug. I opt for a reusable one. The double wall insulation keeps your drink — spiced or not — hotter for longer. The silicone lid seals tightly and the whole thing can be thrown in the dishwasher.
Spice pumpkin pie filling
Because that’s where it all started, right?
3 eggs
1 cup milk
1/2 cup sugar
1/2 cup brown sugar, packed
1 tsp cinnamon
3/4 tsp nutmeg
1/2 tsp salt
1.2 tsp ginger
1/2 tsp clove
1 15-ounce can pumpkin puree
Beat eggs lightly and add in milk, both sugars, salt and spices. Once combined, add pumpkin and stir in until all ingredients are combined. Pour into your favorite pie crust (homemade or store bought) and bake at 350 degrees for 50 to 60 minutes or until a knife removes cleanly.
Tip: Want that golden crust? Glass pie pans retain heat better than ceramic or metal and therefore allow better browning.
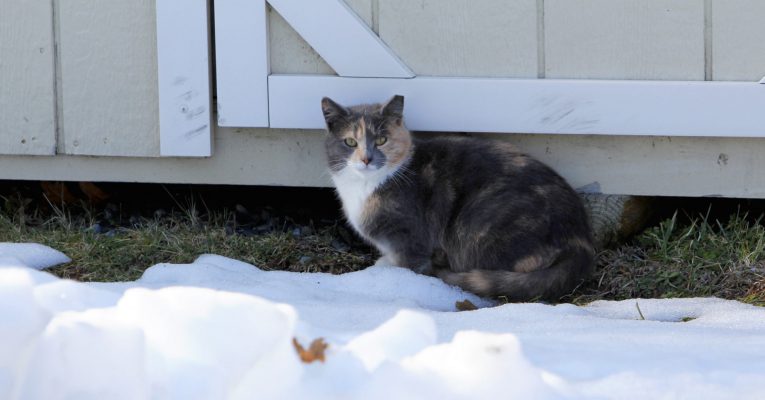
How to build a cat shelter with plastic bins
September 17, 2015

Winter weather can be deadly for our feline friends.
If you’re a cat lover like me, it can be difficult to ignore the feral kitties that come begging for food. Sometimes these felines come knocking, but for whatever reason we just cannot welcome them into our homes. That doesn’t mean we can’t help.
The colder months are creeping in on us. Whether you have feral cats that roam your yard or just prefer letting your pets explore the outdoors, plastic bins can be used to make some inexpensive, very cozy kitty homes.
How to build a cat shelter
The easiest way to create a DIY cat shelter is by stacking two different sized plastic bins. Use a large plastic bin as the main unit, cutting entrance and exit holes. Then place the smaller bin inside and cut matching holes. From here, fill the space between the bins with your choice of insulation to help maintain body heat. Put the lid on the smaller bin and place more insulation on top. Next, put the lid on top of the large bin and – voila – kitty house!
Ideas for insulation include: blankets, foam insulation and straw. If you’re not sold on the plastic bins, consider:
- A styrofoam cooler
- Picnic cooler
- Storage bins
What to keep in mind
When building an outdoor shelter for family or feral cats, remember:
- Keep shelters away from dogs!
- Keep shelters out of sight from any indoor cats you may have. When indoor kitties get a glimpse of other strange cats roaming around their domain, it may trigger some aggressive behavior inside the home.
- Consider cutting two entrances so cats have an escape if confronted by opossums, raccoons or other rodents.

Find a wide selection of plastic bins at Organize-It.